Apple Cider Butter Canning Recipe
05. October 2020
Our friend and guest blogger Chez LaRae created this sweet Apple Cider Butter recipe. This canning recipe will make a great Fall gift. You can follow LaRae’s amazing food adventures on Instagram and her website. LaRae is a self-taught baker, cooking and baking instructor, recipe developer, and an editor at @thefeedfeed. See LaRae's other recipe guest blog posts.

Apple butter is one of my favorite fall canning projects. Apples are at their peak, folks are drawn to warm spices, and the season for gift giving is just around the corner.
This treat is delicious served on English muffins, toast, or waffles. Stir a little into your morning oats or mix with yogurt and granola. One question I get a lot is “Does apple butter contain butter?” No, apple butter is a thick, fruit spread that has the luxurious and smooth consistency of butter. This spread is fall canning at its best.
I make a batch or two every October and give jars as gifts. I prefer using 8 oz jars as they are “just right”, not too big and not too small. Dress your finished creations with beautiful CanningCrafts' Watercolor Apple canning labels and a bit of pretty ribbon and you have the ultimate Fall gifts. Teachers, hostesses, friends, neighbors, and family all love these little treats.
Note: As canning lids and jars have been in short supply in 2020 I have used different shaped jars for this project. Jars can be processed together as long as they are the same size (4 oz, 8 oz, pint, etc.) If you are processing 4 oz jars with quarts, for example, I process the jar sizes separately.
Apple Cider Butter Canning Recipe
Recipe modified from the cookbook “Ball Complete Book of Home Preserving”.
PRINT THE RECIPE CARD
- 6-7 lbs apples, peeled, cored, and cut into chunks (I like a mix of Granny Smith, Braeburn, and Gravenstein for a complex flavor)
- 2 cups apple cider
- 1 cup honey
- 2 tsp ground cinnamon
- ½ tsp ground cloves
- ¼ tsp nutmeg
Preservation method: Waterbath canning
Difficulty level: Easy
Yield: Makes about 8 8-ounce jars
You will need clean jars and closures, a boiling-water canner, rack, jar lifter, canning funnel, and wooden skewer
Place a small dinner plate in freezer for “frozen plate test” (*See note below). This test helps determine when the apple butter is not runny and ready for canning.
Place rack in the bottom of a boiling water canner, then place empty jars on the rack. Add water to the jars and the canner until the jars are about two-thirds full. Cover the canner and bring the water to a simmer over medium heat. Place lids in a small saucepan, cover with water, and bring to a simmer over medium heat. Do not boil. Keep lids hot until ready to use.
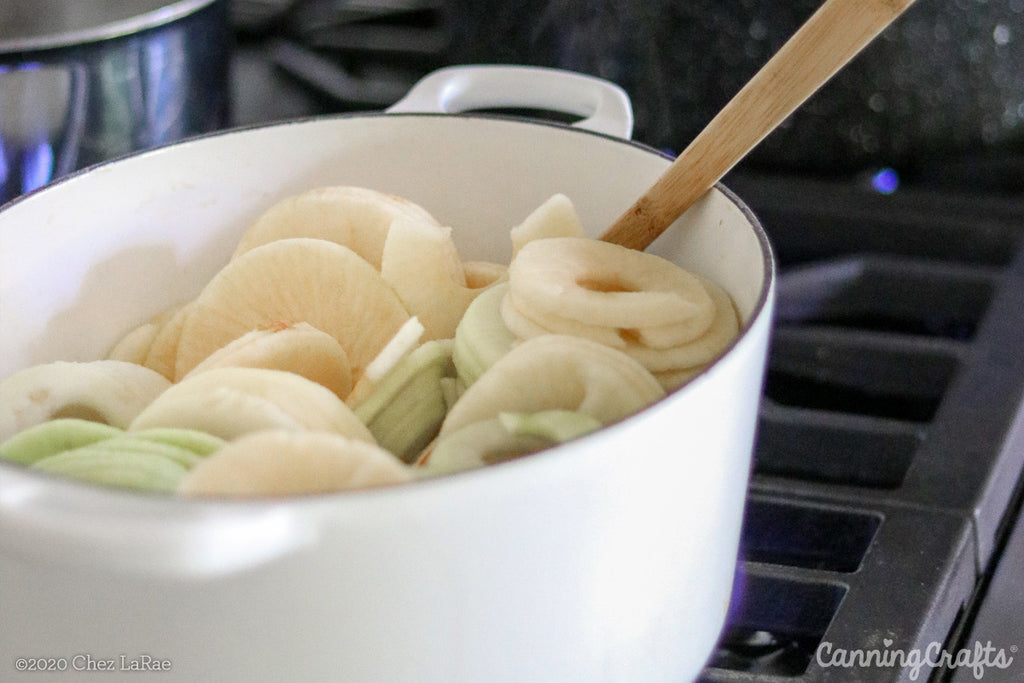
In a large Dutch oven, combine apples and apple cider.
Bring to a boil over medium-high heat. Reduce heat and boil gently, stirring occasionally, until apples are soft, about 30 minutes.

Working in batches, transfer apple mixture to a food processor or blender. You can also use a stick blender directly in the Dutch oven. Puree just until a uniform texture is achieved, but do not liquefy.

Back in the Dutch oven, combine apple puree, honey, and spices. Bring to a boil over medium-high heat, stirring frequently to prevent scorching. Reduce heat and boil gently, stirring often, until mixture thickens. At this point check texture. Does it look like smooth butter? If necessary, use a stick blender to further blend it into your desired consistency.
*Frozen plate test: Spoon a small amount of apple butter onto a frozen plate. When liquid does not separate, creating a rim around the edge, and mixture holds its buttery, spreadable shape, the butter is ready to put into jars.

Ladle hot butter into hot jars, leaving 1/4″ headspace.
Remove air bubbles with wooden skewer and readjust headspace if needed. Wipe jar rims with damp cloth and ensure there is no fruit or gel on the rims of the jars (or the jars may not seal). Apply lids and bands and adjust until fingertip tight. Place jars in boiling water canner.

When all jars are in the canner, adjust the water level in the canner so that it covers the jars by at least one inch. Cover the canner with a lid and bring water to a full rolling boil over high heat. Once the water is boiling hard and continuously, begin counting the processing time of 10 minutes.
Once full time is complete, turn off heat and let jars sit in canner an additional five minutes (this standing time allows the pressure inside the jars to stabilize and reduces the likelihood of liquid loss that could otherwise occur when the jars are removed.)

Remove jars and place on a kitchen towel-lined space. The towel will help reduce the chance of jar breakage. Do not dry the lids or jars at this point. You do not want to disturb the lids while the seals are being formed. Allow jars to cool for 24 hours before removing bands and wiping down jars. Date jars and store in a cool dry place for up to one year.
PRINT THE RECIPE CARD
Shop all of our Apple Canning Labels.
Looking for more apple canning recipes? Try our Apple Pie in a Jar canning recipe.
Want more apple recipes? Take a look at our mega list of Apple Canning recipes.
Follow our Canning Apples Pinterest Board for more recipes & inspiration.


